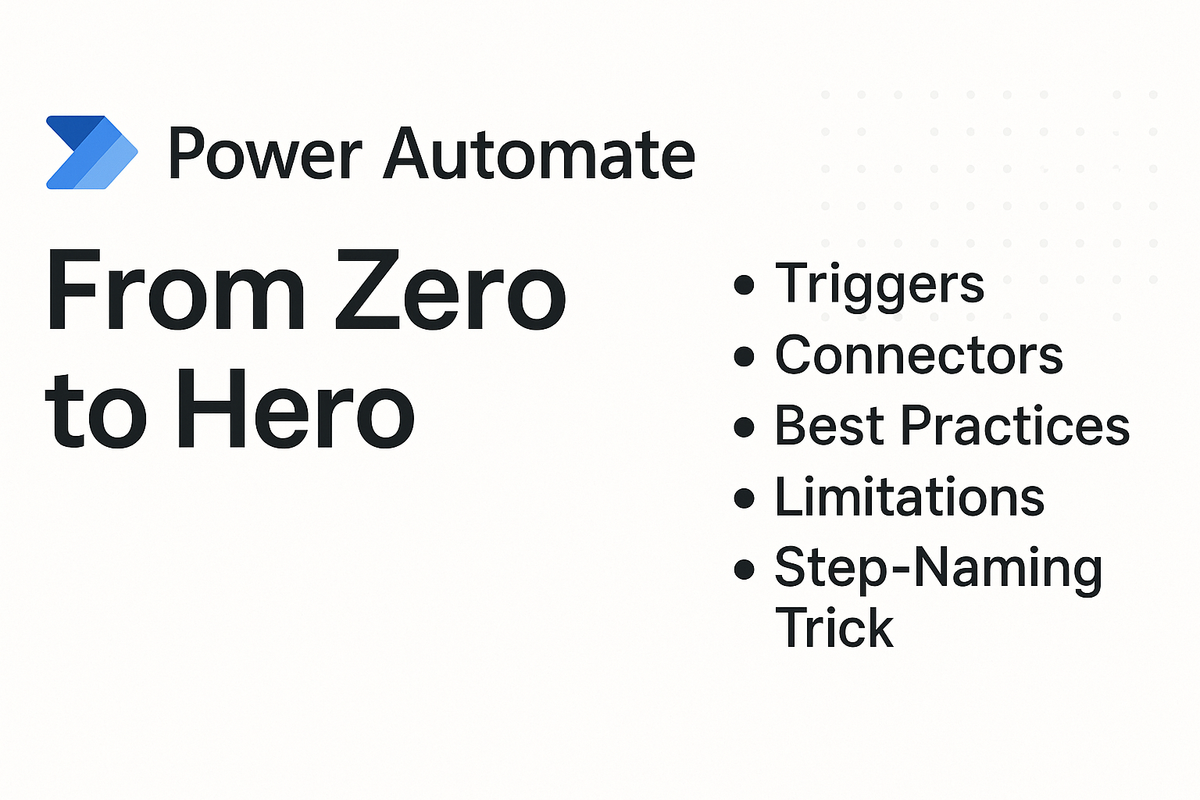
Power Automate: From Zero to Hero

Ever wondered how to turn your everyday manual tasks into automated workflows—without writing a single line of code?
That’s where Power Automate (formerly Microsoft Flow) comes in. It’s a cloud-based service that connects your apps, data, and services through a simple visual designer. Whether you’re sending daily reports, syncing systems, or creating approval chains, Power Automate lets you do it all — fast.
In this guide, we’ll cover:
- The different trigger types and when to use each
- Available connectors — standard, premium, and custom
- Practical best-practice tips for maintainable, fast flows
- The limits you need to know (runtime, actions, API calls, etc.)
- My personal step-naming trick that makes flows instantly readable
Let’s dive in. ⚡
1. Triggers — What Starts the Flow
A trigger is the event that kicks off your automation — think of it as your flow’s doorbell. Power Automate offers four main trigger types:
| Trigger Type | When It Fires | Typical Use Cases | Licensing |
|---|---|---|---|
| Instant (Button) | Manual click in Teams, Outlook, or the web portal | Quick approvals, dashboard actions | Standard |
| Scheduled (Recurrence) | At a set time or interval | Daily reports, nightly data syncs | Standard |
| Automated | When an event occurs in a data source | Notify on new Dynamics 365 cases, sync SharePoint lists | Standard / Premium |
| HTTP Request | When an external system posts JSON/XML | Webhooks from SaaS apps, API integrations | Premium |
Best Practice: Filter Early with Trigger Conditions
If you only care about certain events, use a trigger condition like:@equals(triggerOutputs()?['body/status'], 'Approved')
This prevents unnecessary runs, saving both runtime and API calls.
2. Connectors — Who You Talk To
Connectors are Power Automate’s lifeblood — they let your flow “talk” to other services.
| Category | Examples | Licensing | Notes |
|---|---|---|---|
| Standard | SharePoint, Outlook, OneDrive, Dynamics 365, Power Apps | Included | Free and tightly integrated |
| Premium | Salesforce, SAP, ServiceNow, Azure Logic Apps | Paid | Adds cost but unlocks enterprise power |
| Custom | Your own REST API or legacy systems | Varies | Built via OpenAPI or Postman |
Choosing the Right Connector
- Check licensing — Standard first, Premium only when needed.
- Prioritize performance — Standard connectors usually run faster and with fewer throttles.
- Secure credentials — Store API keys and URLs in environment variables, never hard-code them.
Best Practice: Connection References + Environment Variables
Connection references make flows portable; environment variables make them configurable. Together, they’re essential for clean ALM (Application Lifecycle Management).
3. Best Practices — From Chaos to Clean Automation
Over dozens of production flows, these habits have proven invaluable:
3.1 Naming Conventions
| Element | Format | Why |
|---|---|---|
| Flow | [Env] – [Purpose] – [Owner] (e.g., Prod – Customer Onboarding – Jane) |
Instant identification |
| Trigger | Keep default, add context | “When an item is created – Filter by Status” |
| Step | Keep action name + descriptive suffix | My personal touch 👇 |
| Scope | [Action] – [Context] (e.g., “Update Account – Error Handling”) |
Logical grouping |
Personal Tip:
Rename every step like this:Get Accounts – Filter using FetchXML
You’ll instantly know both what it does and how it does it — no need to open it.
3.2 Group Actions with Scopes
Use Scopes to create clean “try–catch” structures:
- Success Scope — main logic
- Error Scope — handles exceptions, logs, and notifications
Use Configure Run After to make the error scope run only when the success one fails.
3.3 Error Handling
- Wrap critical actions in scopes.
- Use “Run After: has failed/skipped.”
- Add a Terminate action to end with a clear “Failed” status.
3.4 Loops & Pagination
- Enable pagination if handling >500 items.
- Avoid deep nesting — flatten where possible.
- Filter early using FetchXML or OData.
3.5 Monitoring & Analytics
Use Run History and Peek Code for debugging.
Set alerts (via Power Automate or Azure Monitor) for repeated failures.
Check Flow Analytics regularly to spot performance bottlenecks.
4. Know Your Limits
| Limitation | Free Plan | Paid Plan | Notes |
|---|---|---|---|
| Flow runs/month | 7,500 | 20,000+ | Depends on license |
| Concurrent runs | 20 | 100+ | Impacts instant/scheduled flows |
| Max actions | ~500 | ~500 | Per flow |
| Runtime | 30 min | 60 min | Long jobs need other tools |
| API calls/hr | 2000 | 2000 | SharePoint and others |
| HTTP payload | 4 MB | 4 MB | Body size limit |
| Premium connectors | ❌ | ✅ | Per-user or per-flow |
Pro Tips:
- Batch calls with pagination instead of single-item loops.
- Offload heavy logic to Azure Functions or Logic Apps.
- Monitor usage — upgrade or refactor before hitting limits.
5. My Step-Naming Trick
The secret sauce: Keep step names readable.
Instead of leaving defaults like “Get Accounts,” rename to:Get Accounts – Filter using FetchXML
Why It Works
- Makes the flow readable without drilling into each action.
- Saves time during debugging or handovers.
- Helps onboard new team members instantly.
Example flow:
| # | Step Name |
|---|---|
| 1 | When a record is created (trigger) |
| 2 | Get Accounts – Filter using FetchXML |
| 3 | Apply to Each – Account |
| 4 | Send Email Notification |
One glance, and you already understand the logic.
Conclusion
Power Automate lets you build robust, no-code automations — but true mastery comes from structure and discipline:
- Choose the right trigger
- Pick smart connectors
- Follow clean conventions
- Respect the limits
- Add clarity through naming
With these habits, you’ll go from zero to hero — and your flows will thank you. 🚀
Got your own Power Automate tips?
Share them below or connect with me on LinkedIn. I’d love to hear what’s worked for you.