Ribbon Bar Redefined: Classic Workbench vs. Modern Command‑Bar Designer

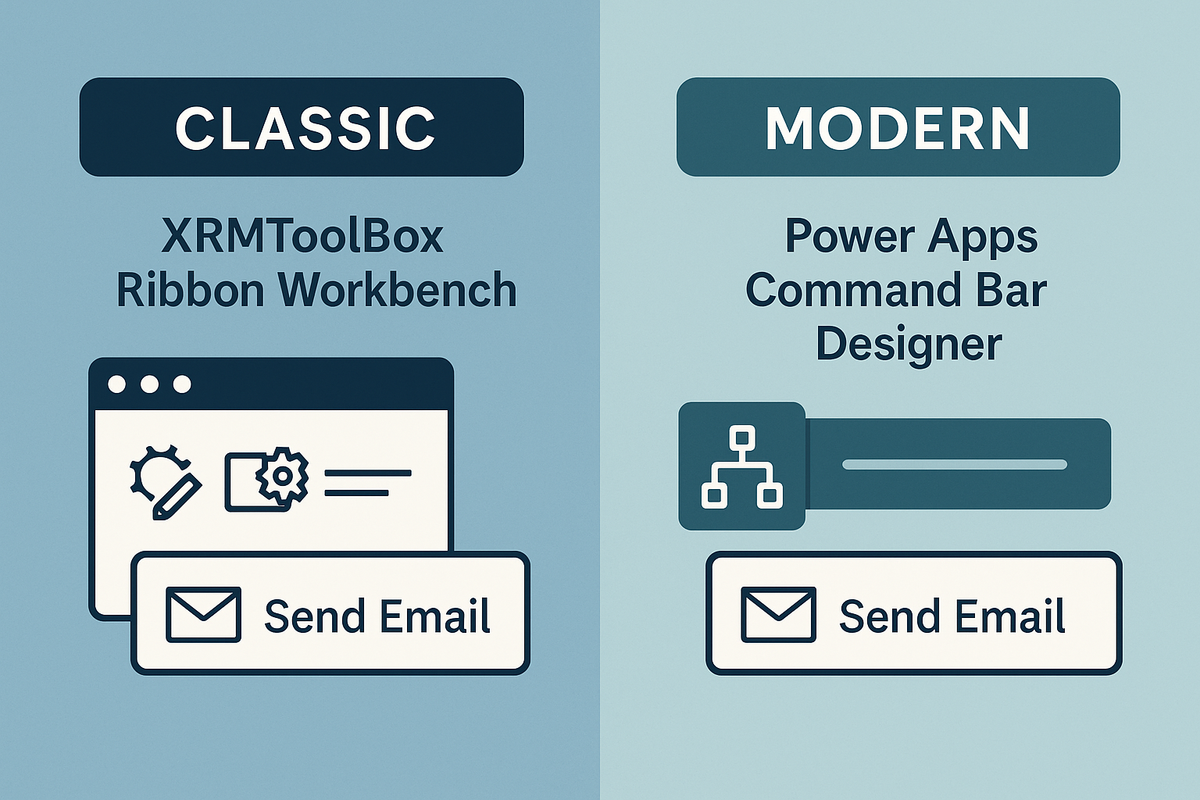
If you’ve ever wanted to add a “Send Email” button that only shows when a record’s status is Open, you’ll quickly discover that Dynamics 365 offers two very different ways to do it:
Below we walk through each method, explain what it means to use them (light solutions, timeouts, JS‑only vs. Power Fx), and give you best‑practice tips for both.
1. The Classic Route: XRMToolBox + Ribbon Workbench
How It Works
- Open XRMToolBox → connect to your org → launch Ribbon Workbench (Scott Durow).
- Ribbon Workbench automatically exports the solution that contains the entity you want to modify, loads its ribbon XML into a visual editor, and lets you drag‑and‑drop buttons or edit properties.
- When you click Publish, Ribbon Workbench imports the updated solution back into your org.
Key point: You don’t need to manually export/import solutions; the tool handles it for you.
What It Means
- Light Solution Required – The ribbon changes are packaged in a minimal solution that contains only the entity and its ribbon XML. This keeps deployment fast and avoids pulling in unrelated components.
- Timeouts & JS‑Only – Ribbon Workbench works with the legacy
Xrm.PageAPI. Because the form may not be fully rendered when your JavaScript runs, it’s common to wrap code in asetTimeout(..., 0)or useformContext.data.entity.addOnLoad()to defer execution. - XML‑Heavy – The ribbon is defined by XML. If you’re comfortable editing XML, you can tweak advanced properties (e.g.,
Visible,Enabled,Command) directly.
Sample Classic JavaScript Handler
// In Ribbon Workbench → Command: "SendEmail"
function sendEmailOnClick(executionContext) {
  const formCtx = executionContext.getFormContext();
  const recordId = formCtx.data.entity.getId();

  // Simple validation
  if (!recordId) return;

  // Call a custom action or web resource
  Xrm.WebApi.execute({
    entityName: "new_sendemail",
    requestBody: { Id: recordId }
  }).then(
    function success() {
      Xrm.Utility.alertDialog("Email sent successfully!");
    },
    function error(err) {
      console.error(err);
      Xrm.Utility.alertDialog("Failed to send email.");
    }
  );
}
Tip: Keep the handler tiny. If you need more logic, move it into a separate web resource and call that from the ribbon command.
Pros & Cons
2. The Modern Route: Power Apps Command Bar Designer
How It Works
- Open Power Apps → Solutions → select the solution that contains your entity.
- Edit the form (or subgrid) and click Command bar → Add command.
- Choose a built‑in action, a custom action, or add a JavaScript function as a handler.
- For visibility/enablement rules, use Power Fx expressions directly in the designer.
No separate solution import/export is needed – the command bar lives inside your existing entity form definition.
What It Means
- Same Solution – Your ribbon changes are part of the same solution that contains the entity and its forms. This simplifies versioning and deployment.
- Power Fx Visibility Rules – Instead of writing JavaScript to show/hide a button, you can write a simple Power Fx expression like:If( StatusCode = 1, true, false )
The designer automatically handles the logic for you. - JS Still Works – You can still add custom JavaScript command handlers. They’re loaded as web resources and invoked when the button is clicked.
- Power Fx vs. JS – Power Fx gives business consultants a low‑code way to implement simple UI logic (visibility, enablement, even basic calculations). This frees up developers for more complex scenarios and can shorten project timelines.
Sample Modern Command Bar Setup
Tip: Use the Command Bar Designer’s “Preview” feature to see how visibility rules behave before publishing.
Pros & Cons
3. Best Practices for Both Approaches
Common Ground
- Keep JavaScript Small – Use a module pattern or IIFE to avoid polluting the global namespace.
- Version Control – Store ribbon XML (classic) or Power Fx expressions (modern) in source control alongside your solution files.
- Test in Sandbox First – Deploy changes to a sandbox, verify button behavior, and check performance before moving to production.
- Use
formContext– Even in classic Workbench you can use the newerexecutionContext.getFormContext()for consistency.
Classic‑Specific Tips
- Timeouts – Wrap any code that depends on form controls being rendered:
setTimeout(() =>{// Your logic here);
}, 0 - Avoid Heavy Work in Ribbon Handlers – If you need to call a server‑side action, do it asynchronously and show a loading indicator (
Xrm.Utility.showProgressIndicator()). - Keep XML Clean – Remove unused commands or groups; the less XML, the faster the load.
Modern‑Specific Tips
- Leverage Power Fx – Use
If,And,Orto express visibility and enablement rules. This reduces JavaScript maintenance. - Use Custom Actions – Instead of web resources for server logic, create a custom action in Dynamics 365 or a Power Automate flow. The command bar can call these directly.
- Document Visibility Rules – Add comments in the designer’s “Notes” field so future developers understand why a button is hidden.
4. When to Pick Which
5. Takeaway
- Classic: Powerful, XML‑based, great for legacy or deep customisation. Requires a light solution and careful handling of timeouts.
- Modern: UI‑driven, Power Fx visibility rules, integrated with the same solution as your forms. Ideal for new projects and teams that prefer low‑code.
Both approaches support JavaScript command handlers, so you can still write custom logic when needed. The key is to keep your code modular, test thoroughly, and document every change—whether it lives in XML or Power Fx.
Next Post
We’ll dive into Ribbon Bar Buttons themselves: how to add them, best practices for naming, and how to make them work seamlessly across forms, dashboards, and subgrids. Stay tuned!