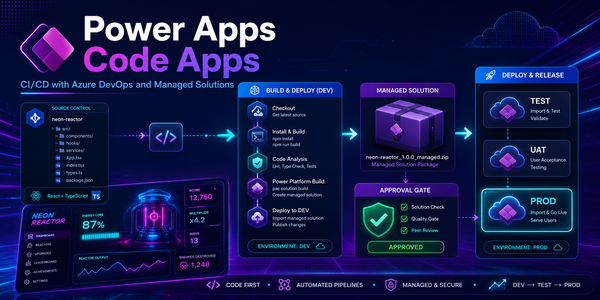
Power Apps Code Apps - Part 2: Connectors, Dataverse & Outlook

In Part 1 we scaffolded a code app, installed Fluent UI, and built a Google-style search UI. It was a proof of concept — a shell with no real data. This is where Part 1 stops, and this post picks up: how do you connect a code app to real services? We will walk through the connector architecture, integrate Outlook and Dataverse, and ship a complete working email client.
A note from the community
Before we dive in, a genuine thank you to the Microsoft Power Platform team for building Code Apps. The community has been asking for this — in various forms, for years. The ability to bring your own web framework, your own UI library, your own build toolchain, and your own architectural patterns to a Power Apps environment is a serious investment. It closes the gap between low-code and professional software development in a way that nothing else on the platform has done before. We owe your team real gratitude for building this.
What you will build
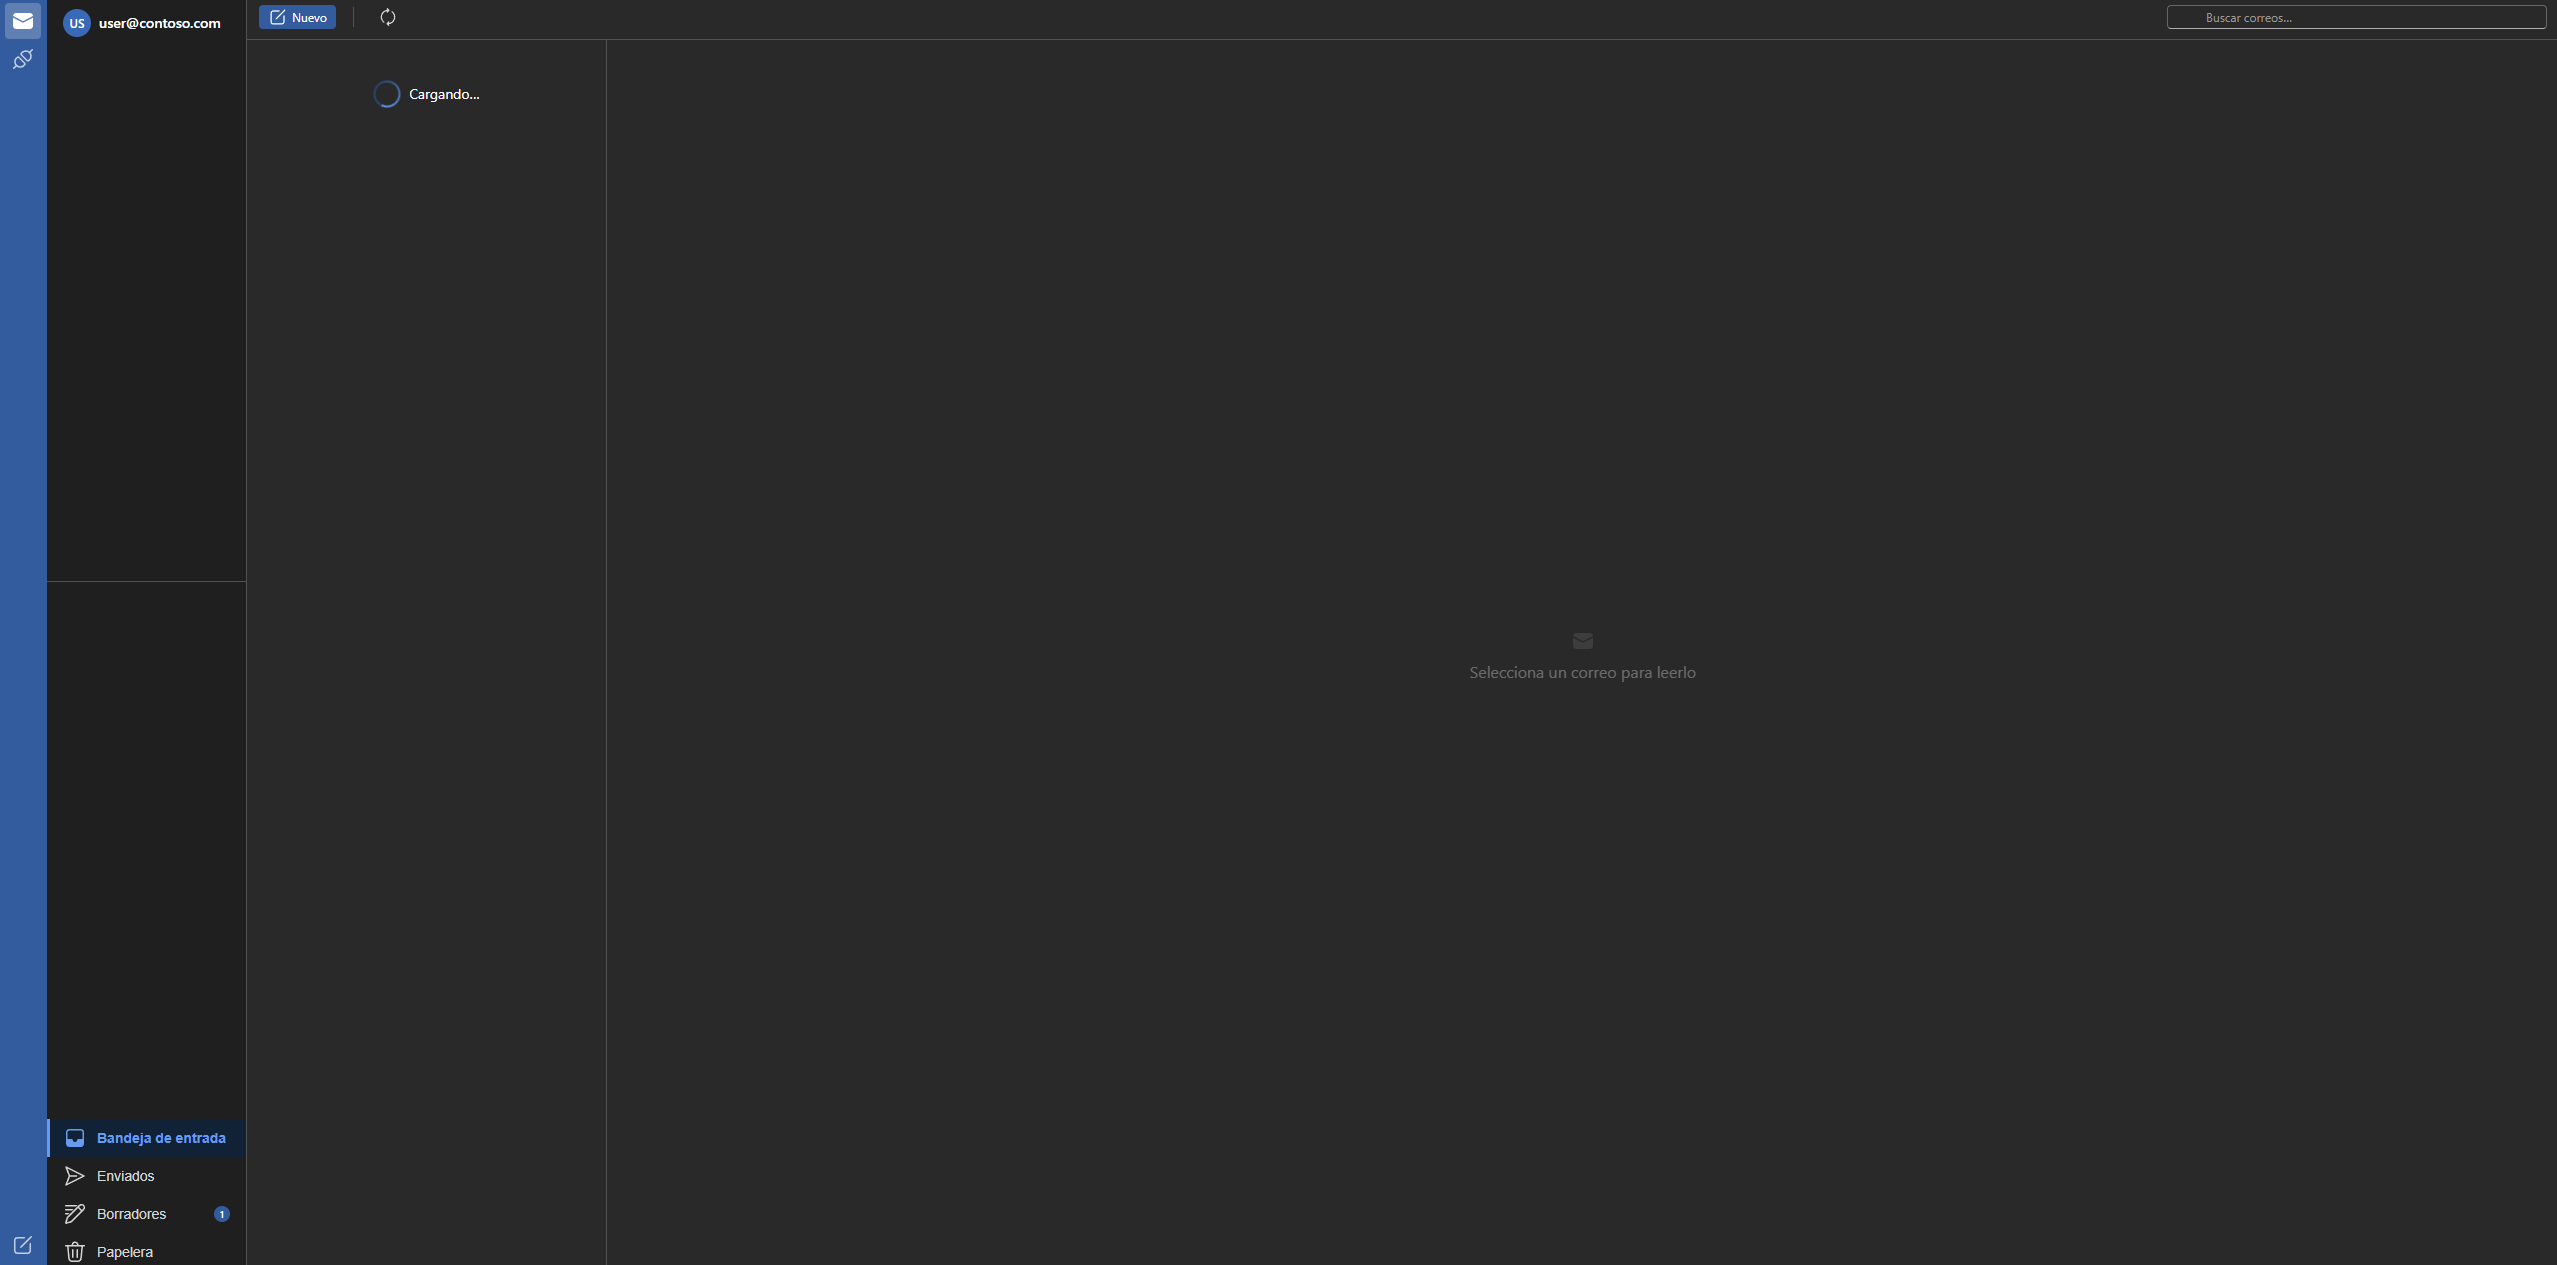
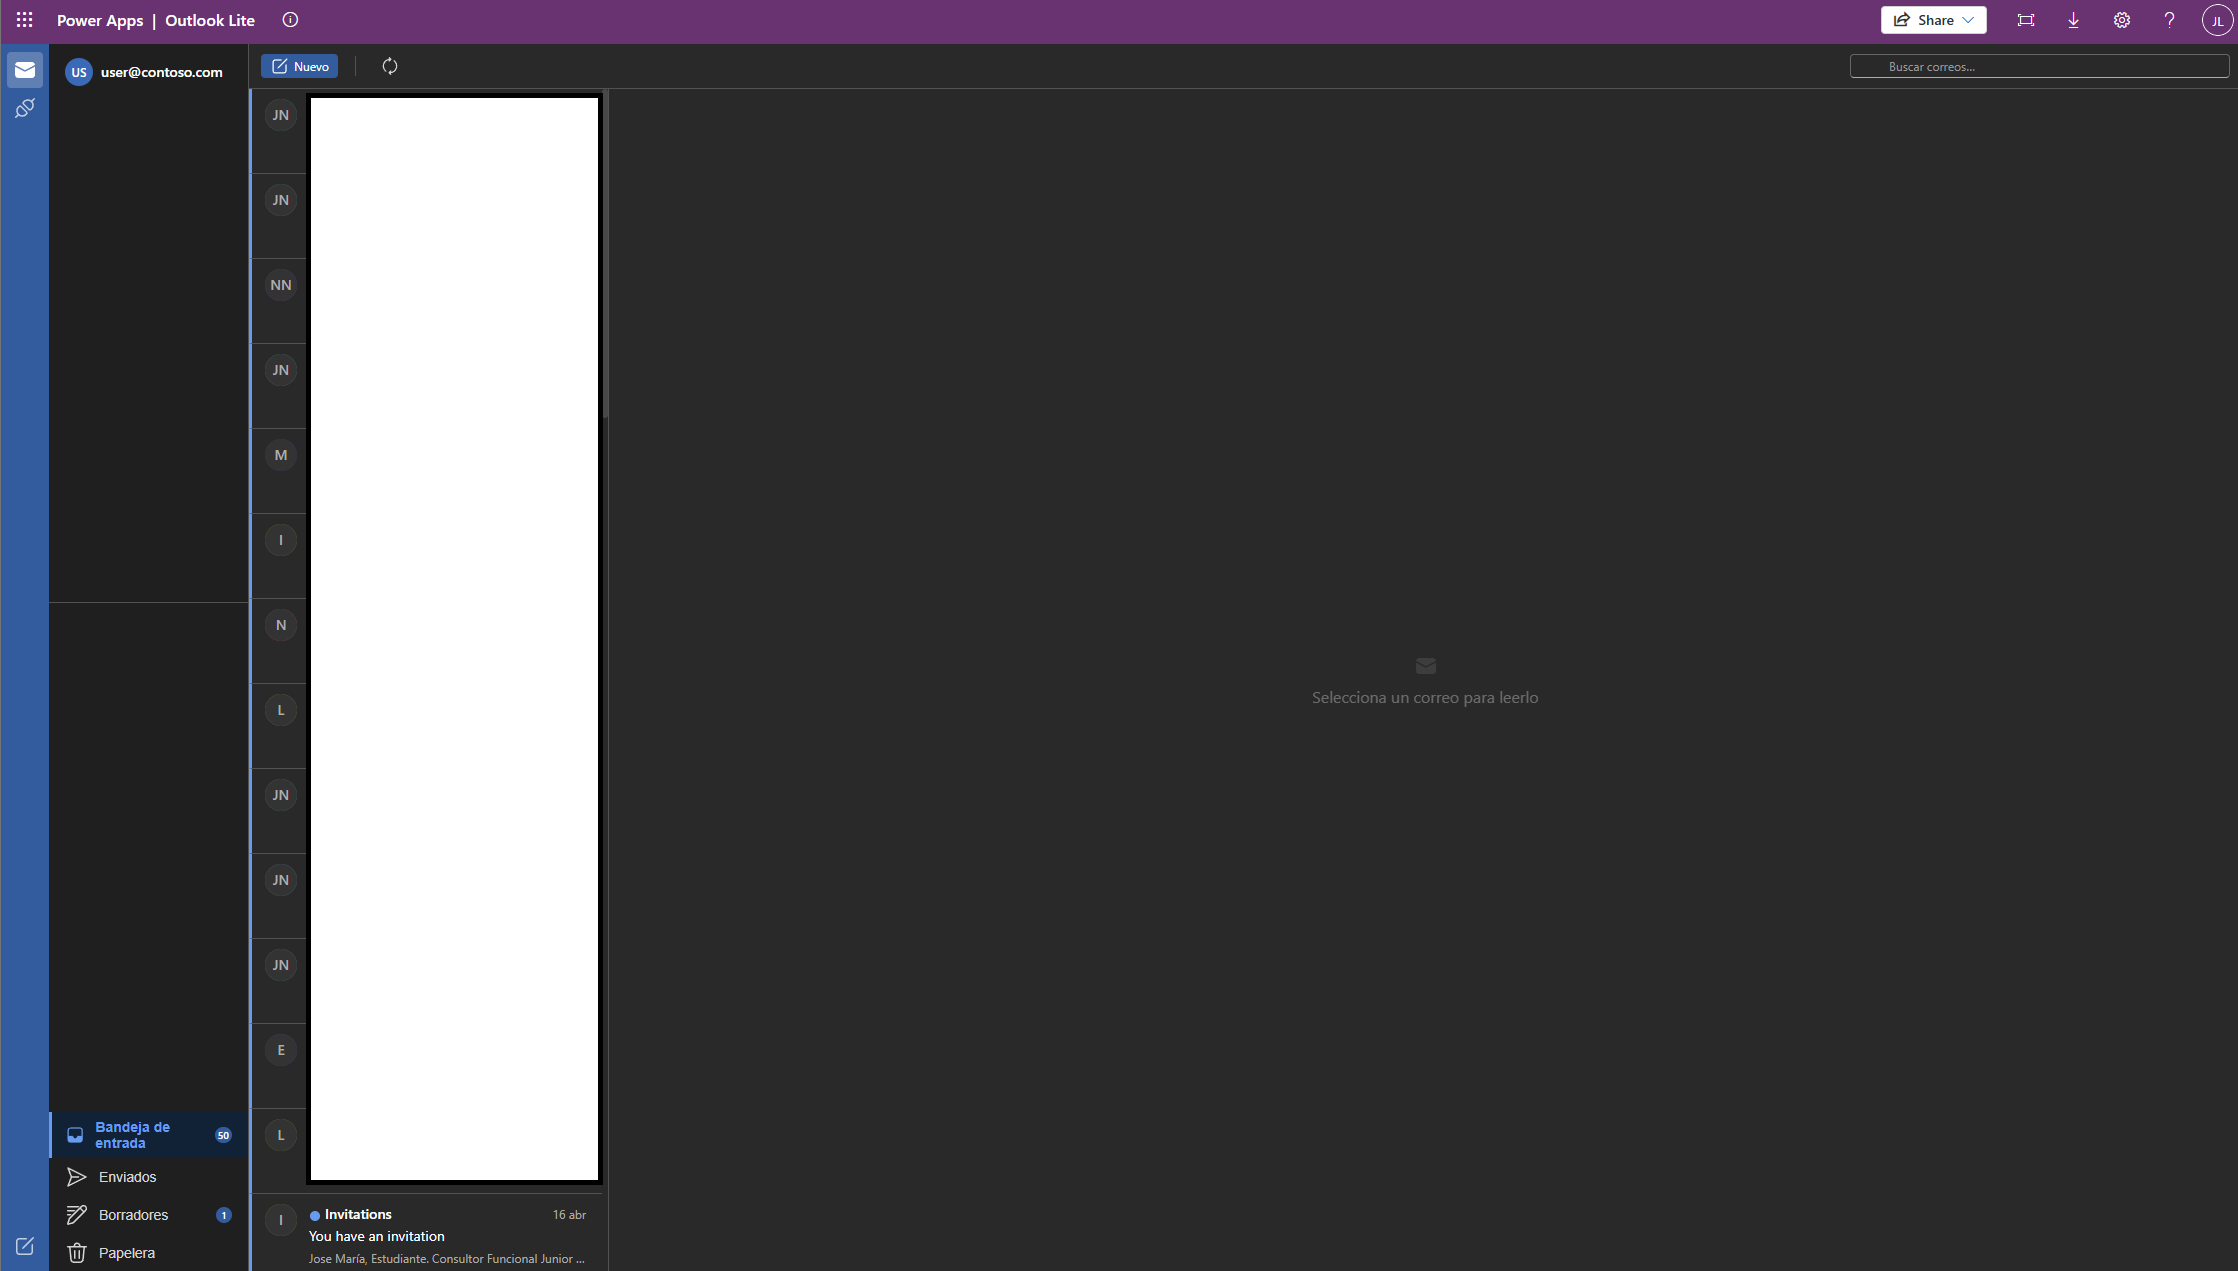
By the end of this post you will have an Outlook-like email client running inside a Power Apps code app, featuring:
- Folder navigation — Inbox, Sent, Drafts, Trash, Archive
- Email list with unread indicators, sender avatars, subject lines, and relative timestamps
- Email detail view — From, To, CC, Subject, Body (HTML rendered safely), and attachments
- Compose dialog with Reply, Forward, and New Message — backed by the Outlook connector
- Real-time search filtering by sender or subject
- Full connector wiring: mock service for local development, real service for production
https://git.lago.dev/Lago/power-apps-codeapps-blog-part2
📁 Reduced step-by-step version
https://git.lago.dev/Lago/power-apps-codeapps-blog
A minimal companion repo with inline code examples for each step.
Architecture: how connectors work in code apps
When a code app connects to Microsoft services, there are two main paths — and understanding both is essential to making good architectural decisions.
Managed connectors are pre-built integrations available out of the box in Power Apps. The Outlook connector, the SharePoint connector, and the Dataverse connector are all available immediately. They require zero authentication logic on your end — you configure the connection once in the Power Apps portal, and the connector handles token refresh, scopes, and error handling transparently. The key advantage is that the OAuth complexity disappears completely.
The Dataverse API gives you raw HTTP access to your Dataverse environment. You authenticate with an access token, construct OData queries, and work with your data exactly as you need to. This is the path for custom entities, complex relationships, batch operations, and fine-grained access control that go beyond what the visual connectors offer.
Both paths work together. Most production code apps will use managed connectors for complex integrations like email or calendar, and the Dataverse API for everything else. It is the best of both worlds — the speed of managed connectors where they exist, and the flexibility of raw API access where you need it.
│ Your Code App │
│ React UI → Service Layer → Connector Client │
│ ↓ │
│ Power Platform Connector Library │
│ Outlook │ Dataverse │ SharePoint │ 1,400+ │
└──────────────────────────────────────────────────────────┘
Step 1 — Prerequisites
- A Microsoft 365 subscription with a work or school account (for the Outlook connector)
- A Power Apps environment with code apps enabled
- The pac CLI installed (dotnet tool install -g Microsoft.PowerApps.CLI)
- Node.js 18+ and npm 9+
- Connections already created at make.powerapps.com
Step 2 — Check your existing connections
Before adding a connector, gather your connection metadata. There are two ways to do this.
Option A — PAC CLI (recommended)
pac connection listReturns a table with connection name, connection ID, and API name. You will need the Connection ID and API name for the next step.
Option B — Power Apps portal
1. Go to make.powerapps.com → Data → Connections
2. Click your connection
3. The URL contains both the API name and Connection ID
Knowing your connection ID before running the add-data-source command saves you from cleaning up and re-running if you use the wrong value.
Step 3 — Add the Outlook connector to your code app
This is where the PAC CLI shines. Run:
pac code add-data-source -a shared_outlook -c <your-connection-id>The -a flag sets the API name (from pac connection list) and -c sets the connection ID. After running, the CLI auto-generates two typed files:
src/connectors/shared_outlook/
  OutlookModel.ts   ← typed request/response types
  OutlookService.ts  ← service with all connector actions
Why auto-generation?: manually crafting HTTP calls for 1,400+ connectors would be a nightmare. The generated service wraps every action as a typed TypeScript method with full request/response types. No more guessing at payload shapes.
Step 4 — Explore the generated connector methods
After running pac code add-data-source, the generated OutlookService exposes all available actions from the Outlook connector:
- GetEmails(folderPath, top, skip, filter, select) — get emails from any folder
- GetEmail(messageId) — fetch a single email by ID
- SendEmail(message) — send plain text email
- SendEmailV2(message) — send HTML email with attachments
- ReplyTo / ReplyToV2 / ReplyToV3 — reply preserving thread context
- ForwardEmail(messageId, body) — forward to additional recipients
- Move(messageId, folderPath) — move to Trash, Archive, etc.
- MarkAsRead(messageId) — mark a message as read
- DeleteEmail(messageId) — move to trash
All methods return Promise<IOperationResult<T>> — access data via result.data. The connector is built on Microsoft Graph, which means the underlying API is the same one powering Outlook.com and Office 365.
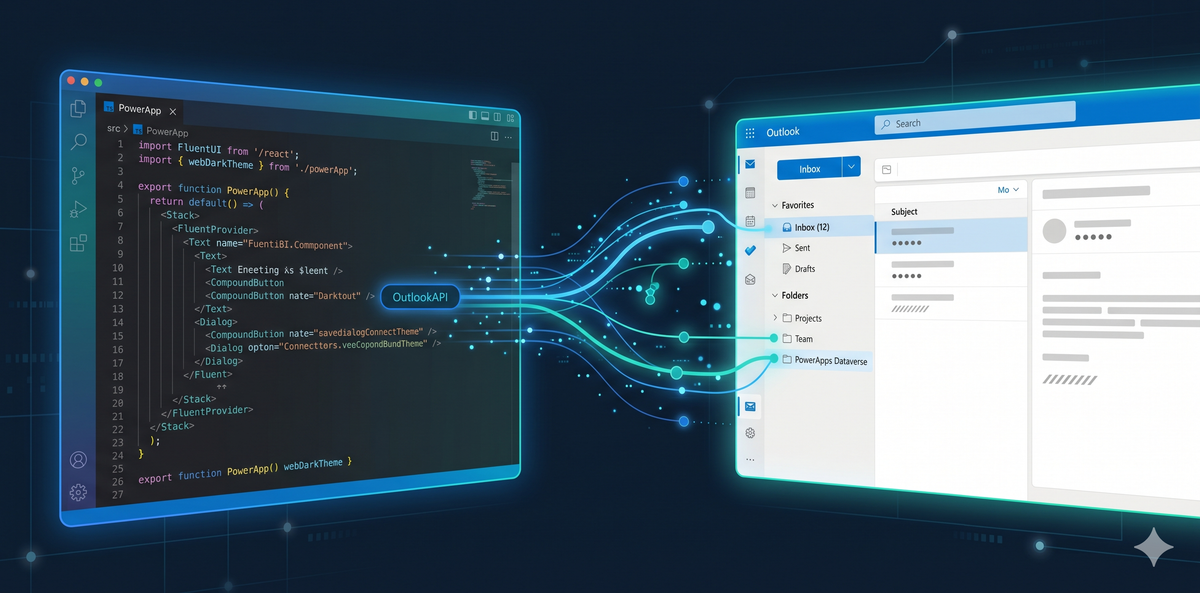
Step 5 — Wire the connector to your React app
The pattern is clean. Import the generated service and call methods directly from your React components:
import { OutlookService } from '../connectors/shared_outlook';
const outlook = new OutlookService();
// Fetch inbox emails
const messages = await outlook.GetEmails('Inbox', { top: 50 });
// Send a new email
await outlook.SendEmailV2({
to: 'colleague@company.com',
subject: 'Sprint Planning',
body: 'Hi team...
'
});The example app uses a service adapter pattern: the OutlookService.ts in src/services/ is a mock that returns typed dummy data. The generated connector client lives in src/connectors/. Swapping one for the other requires only changing the import — the rest of the UI code is identical. This is the recommended development workflow: iterate against mock data locally, connect to the real service when the interface is validated.
Step 6 — Run locally
npm install
npm run dev
The app opens at http://localhost:5173. Vite's hot module replacement means the UI reloads as you edit — no manual refresh needed during development.
Step 7 — Deploy to Power Platform
pac code deployThis packages the app and registers it in your Power Apps environment. For solution-aware deployment:
pac code deploy -s <your-solution-name>Why solutions?: they bundle the code app with its connection references and environment-specific settings, making promotion from dev → staging → prod straightforward — and auditable for IT.
The email client — component walkthrough
Folder navigation — Uses a simple list of folder names. Clicking a folder filters the email list. The folder path maps directly to what the Outlook connector expects (e.g., Inbox, Sent, Drafts, DeletedItems). Tracked in React state:const [selectedFolder, setSelectedFolder] = useState<Folder>('inbox').
Email list — Each row shows a sender avatar with a color derived from the sender's name hash, sender name, subject, preview text, relative timestamp, and an unread badge. The list is reactive — it re-renders whenever the selected folder or search query changes.
Reading pane — Displays the full email body. The HTML body is injected via a styled container with a CSS reset so the email's inline styles do not bleed into the rest of the app. The body is sanitized before rendering, treating it as untrusted user-generated content — the correct security posture for any HTML email client.
Compose dialog — Fluent UI v9 Dialog component with To, Subject, and Body fields. Fluent UI validation components enforce required fields before enabling the Send button. On submit, it calls SendEmailV2 with the HTML body.
Search — Client-side filter on the in-memory email array. Matches sender name or subject. Reactive — the list updates on every keystroke with no server round-trip needed for the mock data.
Mock vs real — The OutlookService in src/services/ is a mock returning typed dummy data matching the connector's response shape. To use the real connector, replace the import in your React components from services/OutlookService to connectors/shared_outlook/OutlookService. No other changes needed.
Dataverse connector — the same pattern
The same pac code add-data-source workflow applies to Dataverse:
pac code add-data-source -a shared_commondataservice -c <connection-id> -t accounts -d defaultThis generates DataverseModel.ts and DataverseService.ts with full type safety for Dataverse tables. The -t flag specifies the table name (accounts, contacts, etc.) and -d default sets the target environment. Dataverse enforces row-level access based on Power Apps permissions — you get the security model without building any auth logic yourself.
The connector landscape
Code apps support over 1,400 connectors, including the full Microsoft 365 stack (Outlook, Teams, SharePoint, OneDrive, Planner), major SaaS platforms (Salesforce, SAP, ServiceNow, Slack), and any standard REST connector. According to the Microsoft 2026 Wave 1 release plan, the PAC CLI was extended to let developers discover, create, and wire connectors directly from the terminal. Two connectors are not yet supported: Excel Online (Business) and Excel Online (OneDrive) — but the list grows with each release wave.
Connection references — why they matter
Code apps use connection references instead of binding directly to user-specific connections. A connection reference is a solution component that points to a connection. This gives you three things Canvas Apps cannot offer:
- Environment promotion — connections change per environment without code changes
- Managed identity — system-assigned identities instead of user credentials
- Centralised governance — IT can audit which apps use which connectors via DLP policies
In power.config.json, connection references look like:
"connectionReferences": {
  "shared_outlook": {
    "connectionId": "aaaaaaaa-bbbb-cccc-dddd-eeeeeeeeeeee",
    "connectionName": "shared_outlook",
    "apis": ["shared_office365"]
  }
}
Removing a data source cleanly
pac code delete-data-source -n outlookThis removes the entry from power.config.json, deletes src/generated/ files, and cleans .power/schemas/. If the CLI misses something, clean up manually:
- power.config.json — remove the connection reference entry
- src/generated/ — delete the connector's Model.ts and Service.ts files
- .power/schemas/ — delete the connector schema folder
- src/services/OutlookService.ts — remove or update the service adapter
Canvas Apps vs Code Apps — a practical comparison
| Aspect | Canvas Apps | Code Apps |
|---|---|---|
| UI Framework | Power Fx formula bar | React / Vue / Svelte / any web framework |
| Connector Access | Visual connector picker | PAC CLI + typed client library |
| Data Model | Implicit, delegation-based | Explicit TypeScript types |
| Styling | Themed controls | Fluent UI / Tailwind / any CSS framework |
| Deployment | Packaged by Power Platform | pac code push + solution |
| CI/CD | Limited | Full git-native workflow |
What is not covered in this post
- Real OAuth/OAuth2 flows — the connector handles this automatically in connected environments, but initial setup requires a Microsoft 365 admin to approve the connector in your tenant
- Dataverse table creation — production apps require creating and managing tables in Dataverse, a separate workflow documented in Microsoft Learn
- Production deployment to Microsoft App Source — publishing for external users involves additional certification and compliance steps
- Authentication edge cases — MFA, conditional access policies, and tenant restrictions can affect connector behaviour
- Two-way binding of controls — code apps are still evolving, and certain canvas app control patterns do not yet have web framework equivalents
Sources and further reading
This project is built on the following Microsoft Learn documentation and official resources:
- How to: Connect your code app to data — Microsoft Learn (pac code add-data-source reference)
- Power Apps code apps overview — Microsoft Learn (foundational concept documentation)
- Code apps architecture — Microsoft Learn (internal architecture and runtime behaviour)
- Use CLI to discover, create, and wire connectors — Microsoft 2026 Wave 1 release plan
- PAC CLI reference — pac code add-data-source, pac code delete-data-source, pac connection list
- Connector classification and DLP policies — Microsoft Learn
- Fluent UI v9 React components — react.fluentui.dev
- Part 1 of this series — Power Apps Code Apps tutorial (thatsagoodquestion.info)
Thank you to the Microsoft Power Platform team for building Code Apps — the community needed this, and you delivered. Part 1 is available here.